Mainline Articles

Tutorials
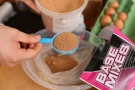
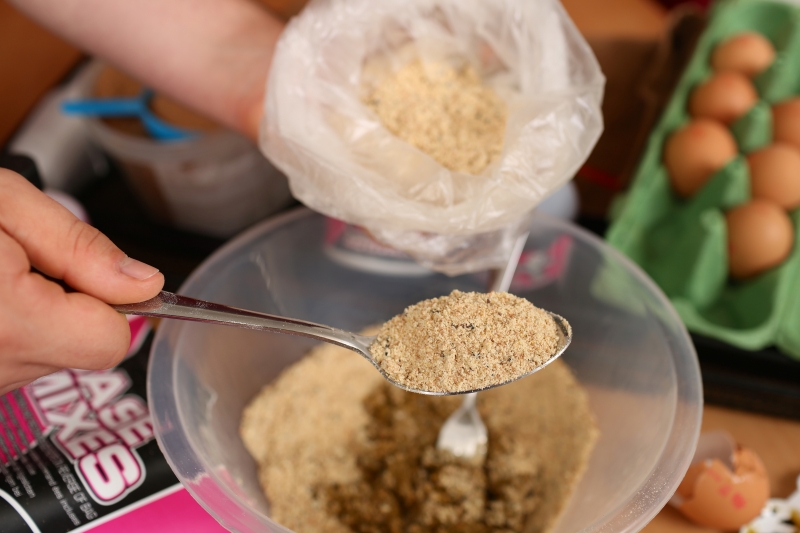
01 Begin the mix by adding two parts New Grange Base Mix and one part Cork Dust to a plastic bag.
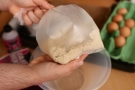
02 Blow some air into the bag, twist the top and give it a good shake until the contents are mixed evenly.

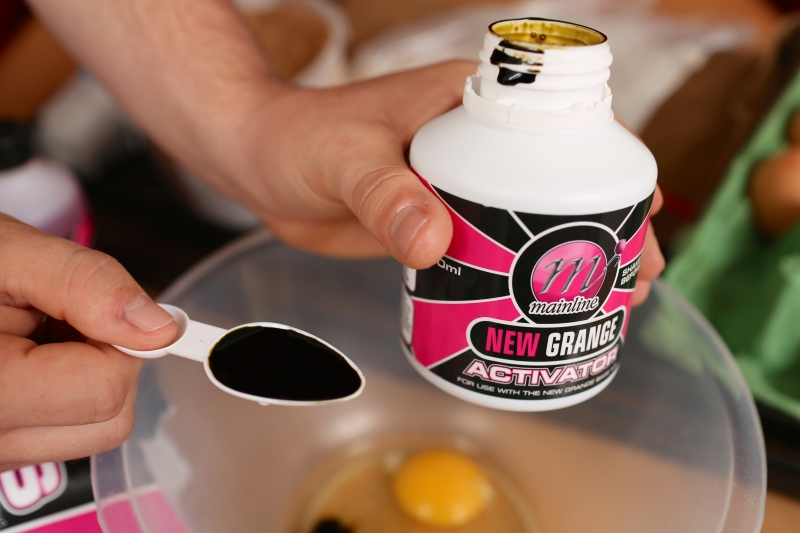
03 Crack the egg into the mixing bowl - add 5ml of New Grange Activator and lightly whisking together.

04 Add the dry mix a little at a time next. Mixing with a fork then by hand to slowly build-up the paste.
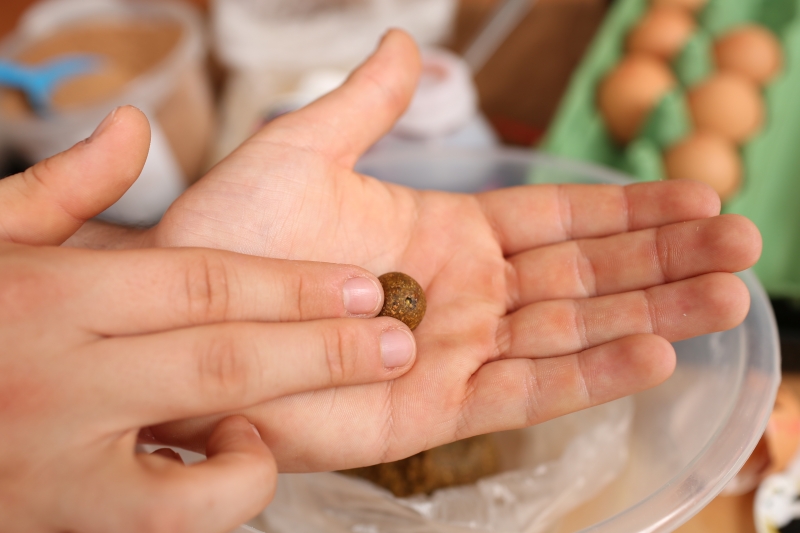
05 Place the paste in a plastic bag and leave to stand for five minutes so the mix can absorb the liquid.

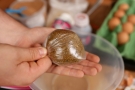
06 Roll the paste between the palms of your hands to form what will be 40-50 baits depending on size.

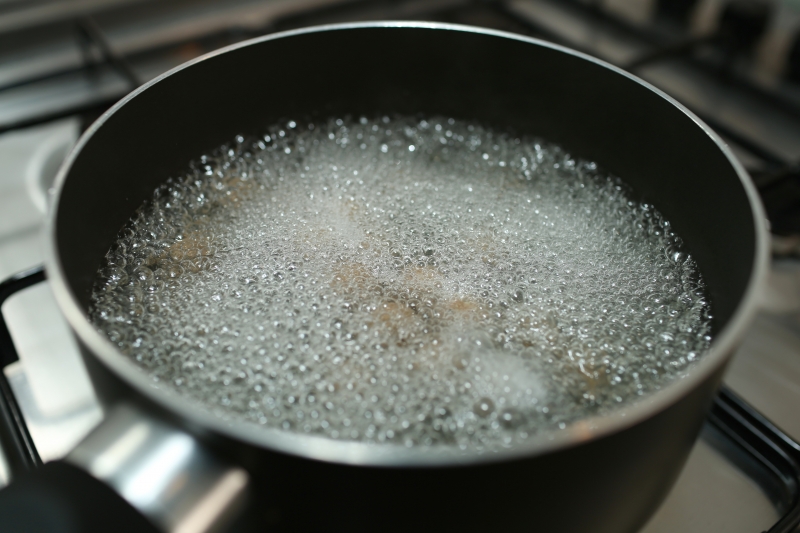
07 Once all the paste is rolled boil the hookbaits for two minutes with the water boiling vigorously.
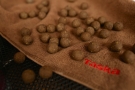
08 After the boiling process, air-dry the Cork Dust Pop-Ups on a towel or wire tray for at least 24hrs.

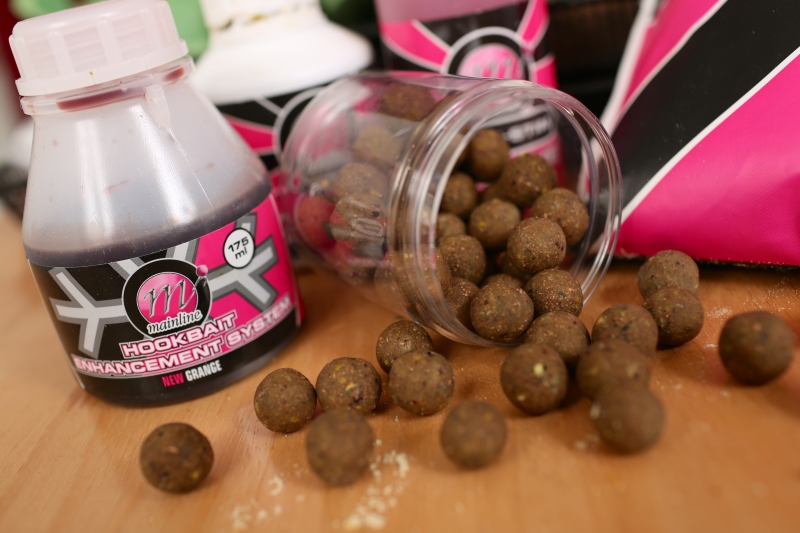
09 The addition of some Hookbait Enhancement System glug will further boost the attraction of the baits.
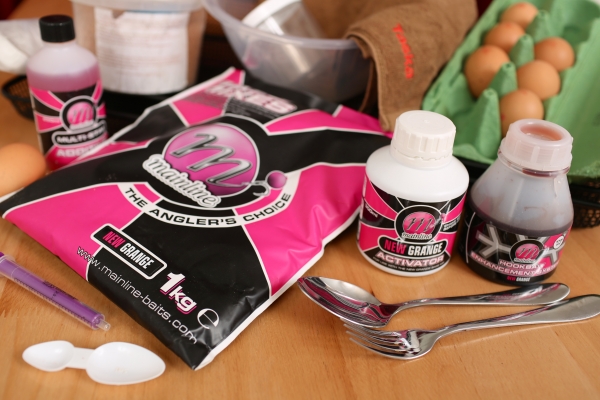
These are the things you will need.
How To Make Cork Dust Pop-Ups
This feature shows you all you need to know when it comes to one of the ways of creating 'custom' buoyant pop-ups by incorporating cork dust within the mix - here's how its done...
RECIPE:
5ml New Grange Activator, New Grange Dedicated Base Mix, Cork Dust Granules and one egg.
EQUIPMENT:
Mixing Bowl, Measuring Spoon, Syringe or Pipet, Fork, Spoon, Saucepan, Strainer, Plastic Bag and Towel or Air-Dry Tray.
PRODUCTION TIME:
Approx. 90 minutes.
READY TO USE IN:
24HRS air-drying - preferably five to seven days.